Intake System
The intake system in an Audi S6 or S7 is designed to optimize airflow into the engine, featuring advanced filtration and variable intake manifolds to enhance power and efficiency.
Intake Upgrades
Potential intake upgrades for your Audi S6 / S7
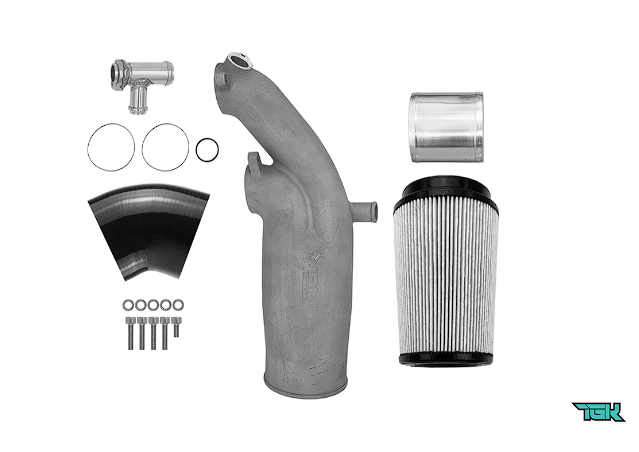
TGK Motorsport Intake(s)
The TGK Motorsport intake is available at:
TGK Motorsport Audi 4.0T Air Intake System
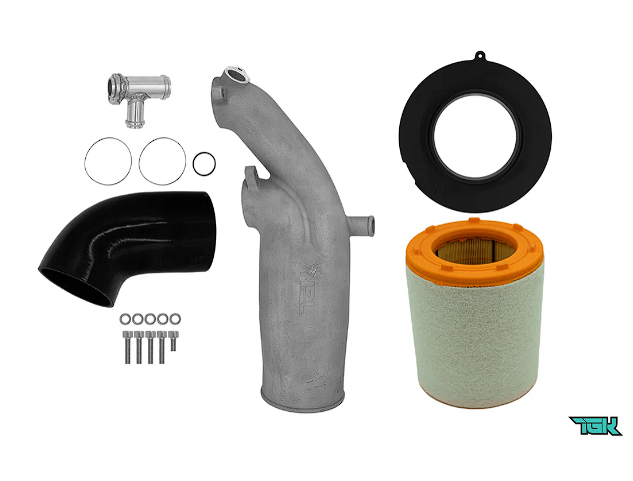
There is also a secondary model that includes an adapter to utilize the stock air box, eliminating the annoying accordion hoses and giving you bigger inlets in the process.
TGK Motorsport 4" Intake With OEM Air Box Conversion
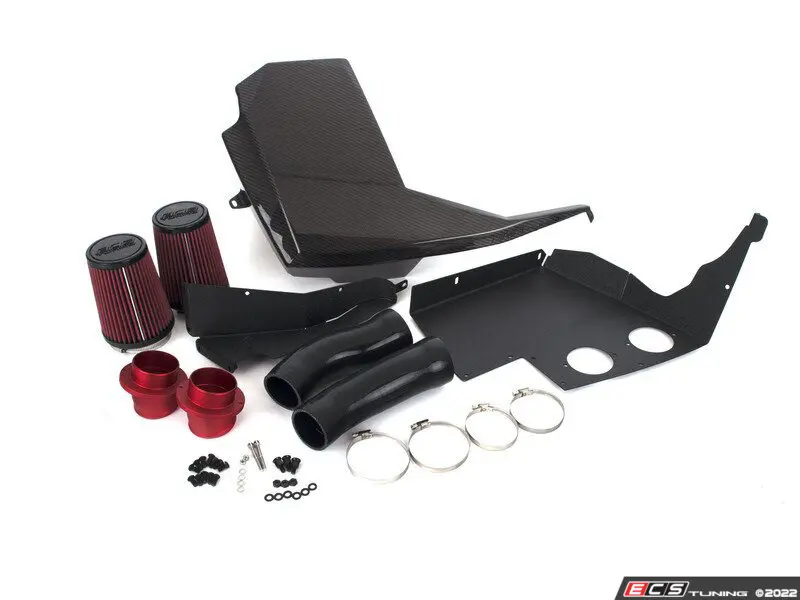
ECS Tuning Intake(s)
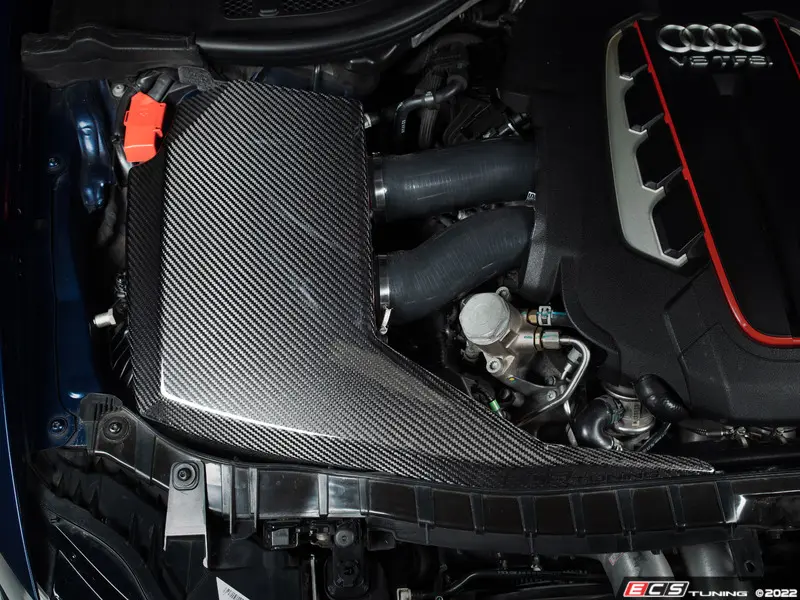
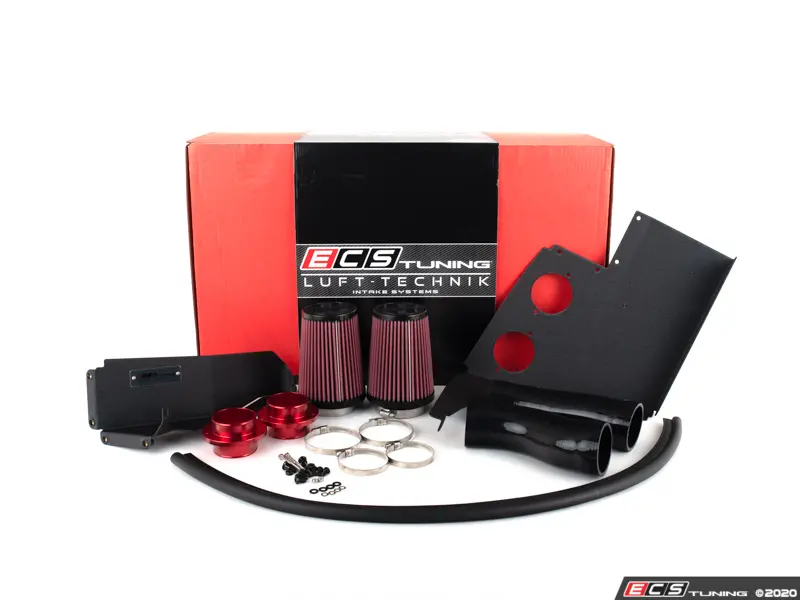
ECS Tuning offers two versions of it's intake, one with the carbon fiber lid and one without.
The standard Luft-Technik kit does not have the ability to retrofit the carbon fiber air box lid from the Kohlefaser style kit.
The Kohlefaser Luft-Technik Intake System can be found at:
Kohlefaser Luft-Technik Intake System
The standard Luft-Technik Intake System can be found at:
034 Intake(s)
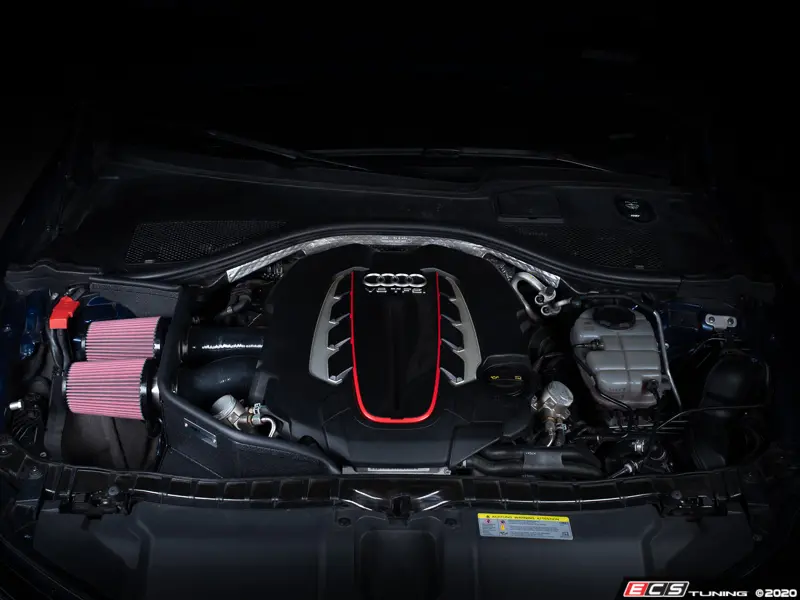
034 recently released an intake with a dual filter and a carbon fiber heat shield
This intake utilizes the stock inlets. If you have upgraded inlets, this may not fit until fitment has been confirmed by someone.
The 034 Intake can be found at:
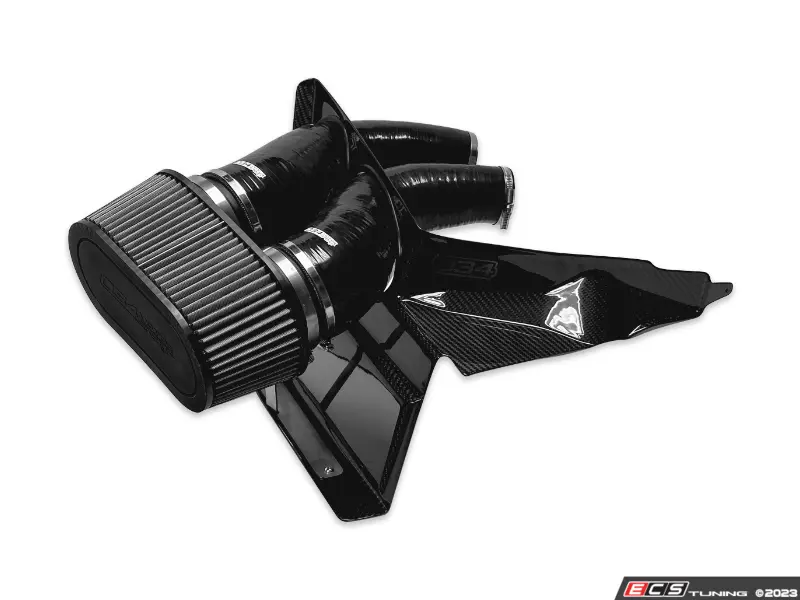
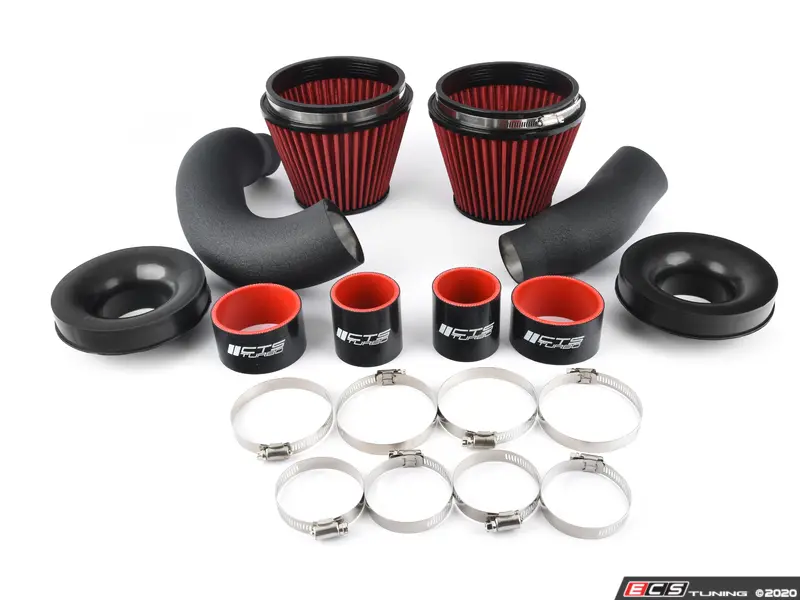
CTS Intake
The CTS Intake is available at:
CTS-IT-938 - CTS Turbo Dual 3" Intake Kit
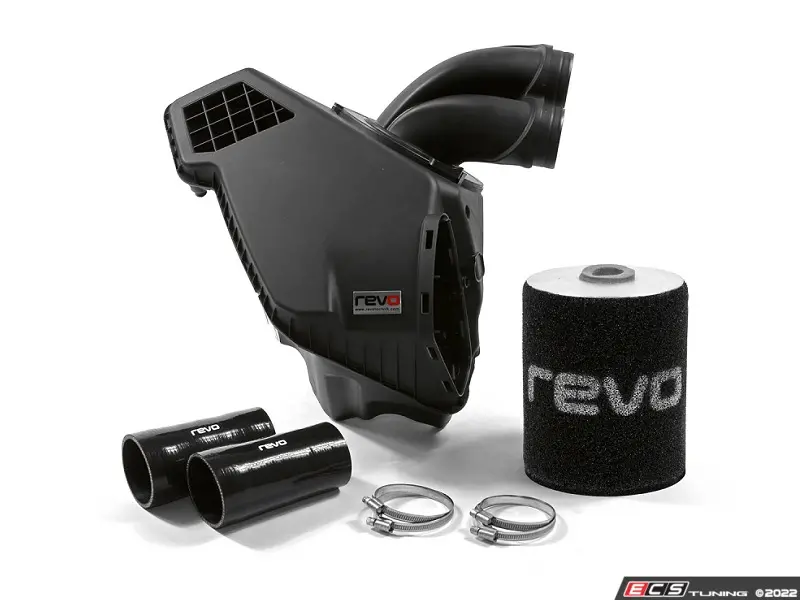
Revo Intake
The Revo Intake is available at
Intake Installations
SRM Intake Install
Original Post: Audizine
Original Part Link: SRM
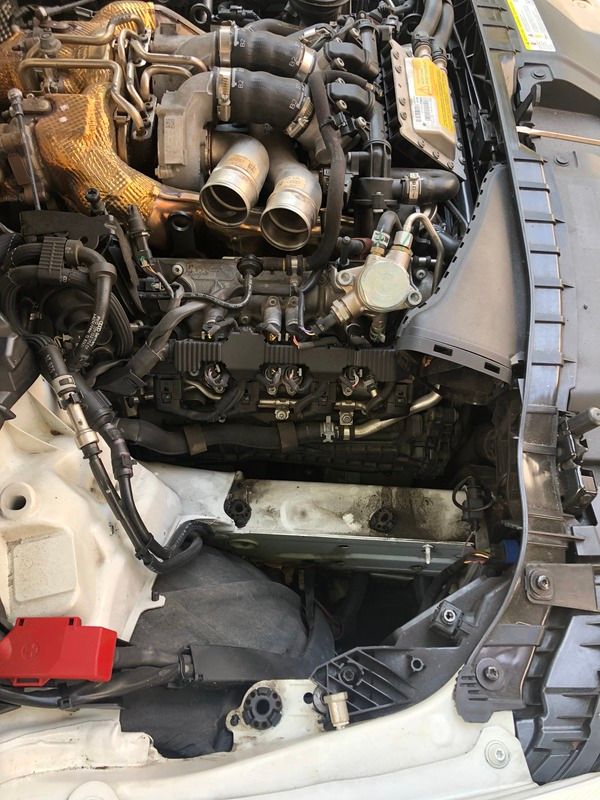
- Remove the engine cover.
- Now remove the hose clamps and take these tubes out.

- Now press on these tabs and disconnect the ram air inlet from the factory airbox.
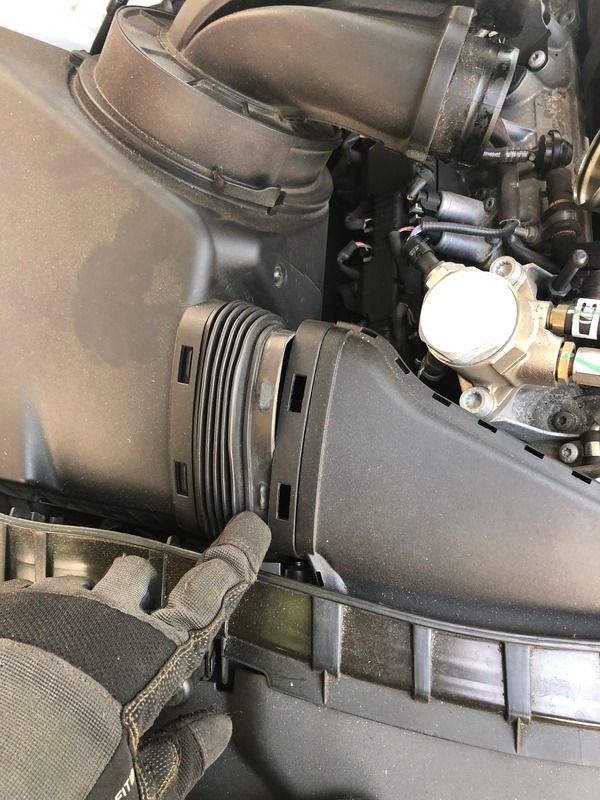
- Lift the airbox out (it's not bolted in, it's just pressed into rubber isolators.
- Next loosen these hose clamps and remove these two hoses.
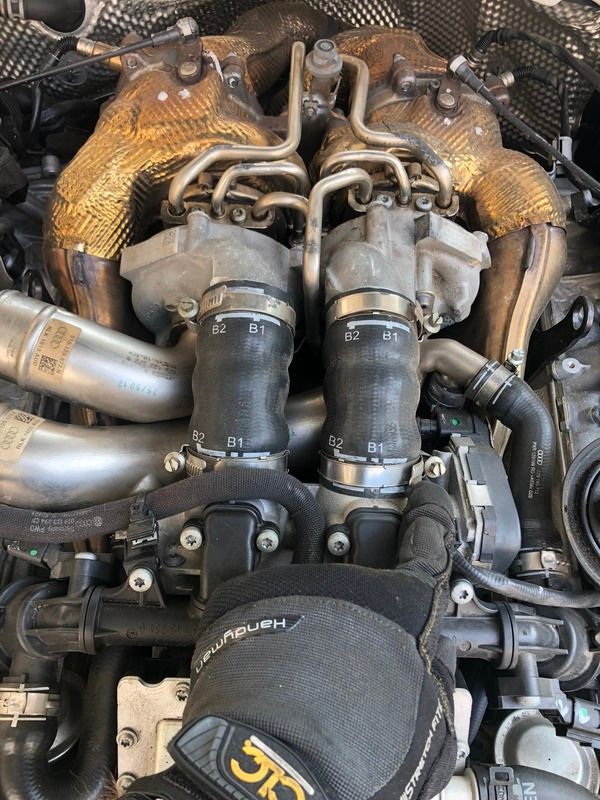
- Now loosen the hose clamps from the recirc tubes from BOV and from the crank vent on the driver's side turbo.
- The passenger one is an Oetker clamp, so you'll need to cut it off and replace with a hose clamp or an Oetker later.
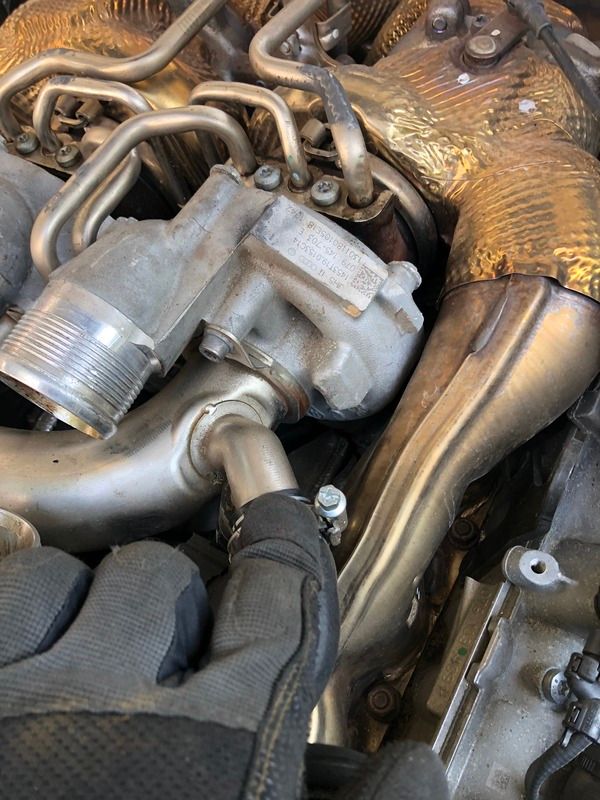
- Now unscrew the 6 T30?? screws holding the throttle bodies in place. (this is the only way to be able to get to all the allen bolts holding in the inlets. Before you do, disconnect all the plugs from the bypass valves.
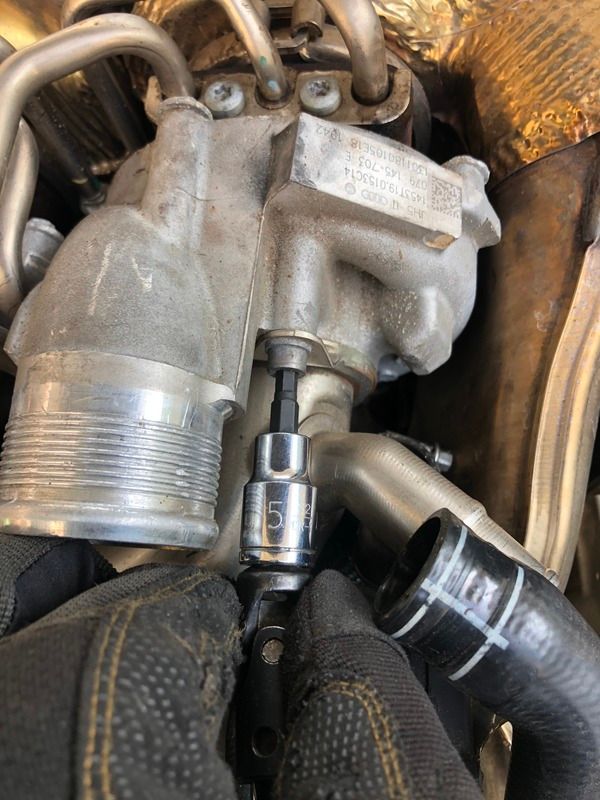
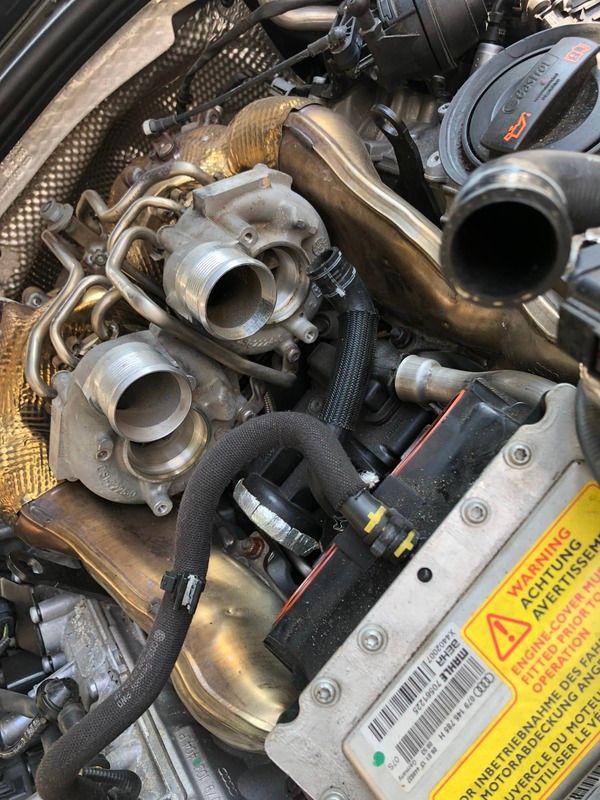
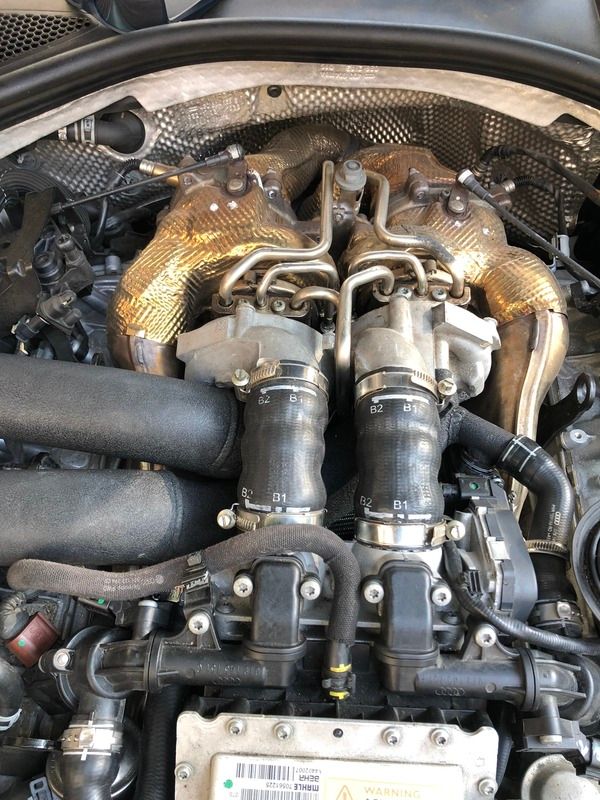
- Next remove the 4 5mm allen bolts holding the turbo inlets in place
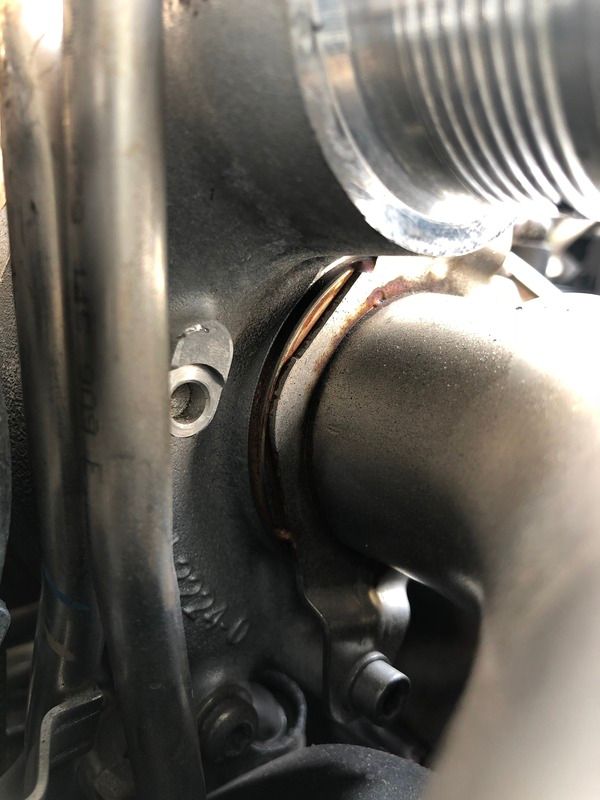
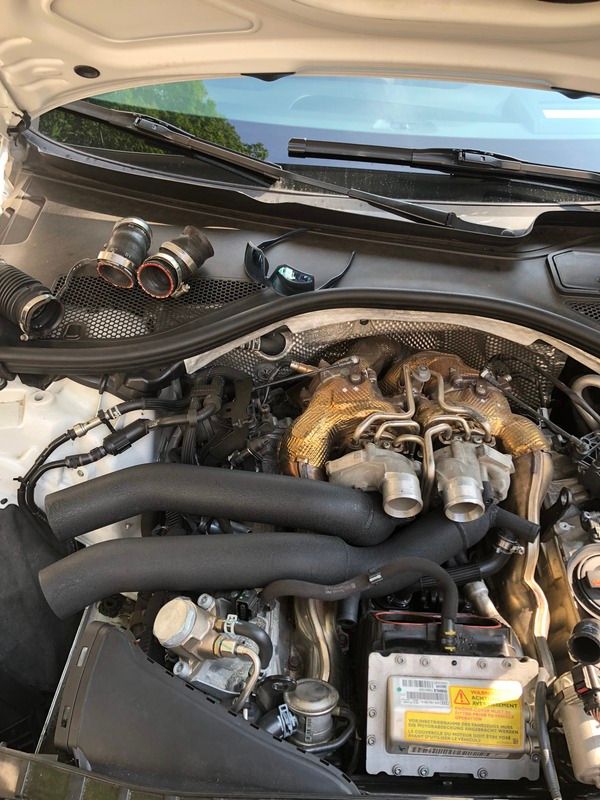
It should look about like this now.
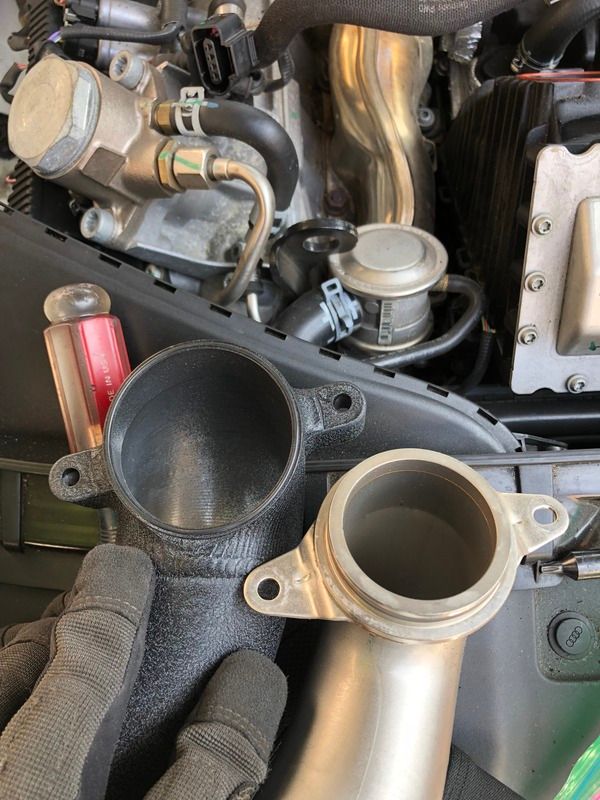
Here is the SRM inlet compared to the factory one. You don't have to be an engineer to see the restriction in the factory inlet.
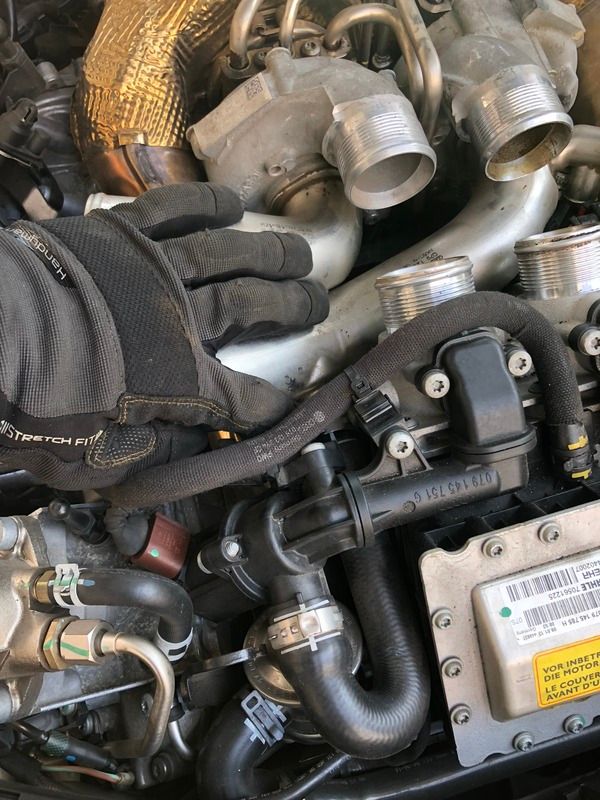
Install the passenger SRM inlet and snug it up.
- Now install the driver's side one and snug up the allen bolts, also slide the lower crank vent tube to the inlet and snug up the hose clamp.
Should look about like this now.
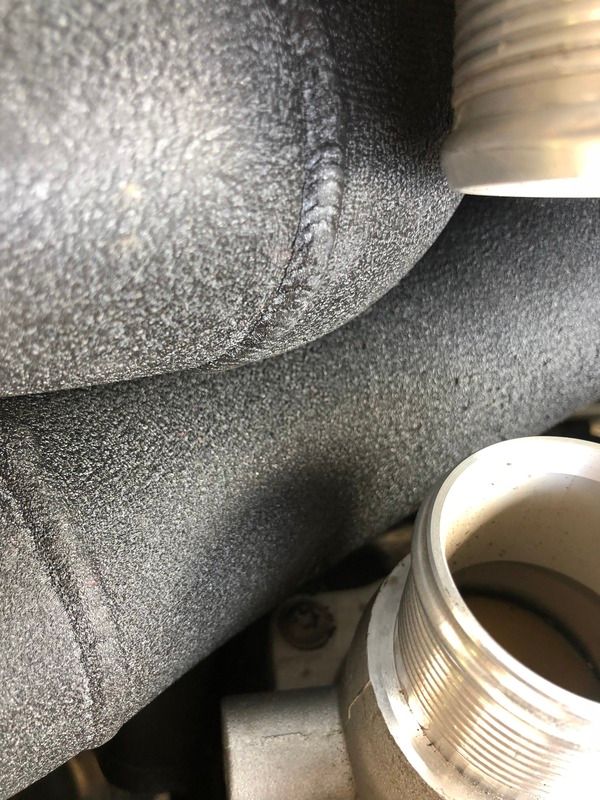
- Now put the throttle bodies back in place. This particular allen screw is a PITA and will scrape a tiny bit on the inlet tube (the scrape gets covered up with the hoses removed earlier)
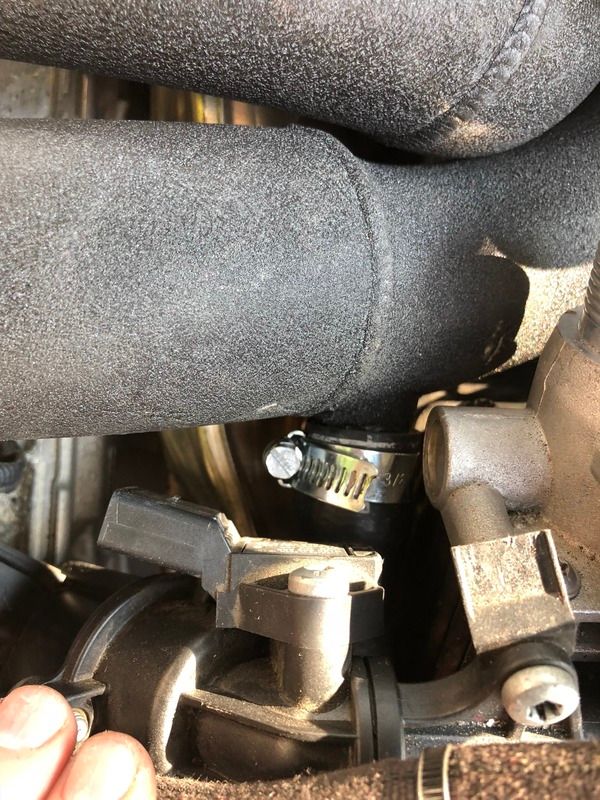
- Now either use another oeteker clamp, or use a hose clamp on the lower BOV return tube. This one is a PITA and I used a hose clamp to make it easier when i upgrade the turbo internals. Also make sure you reconnect the drivers side tube as well.
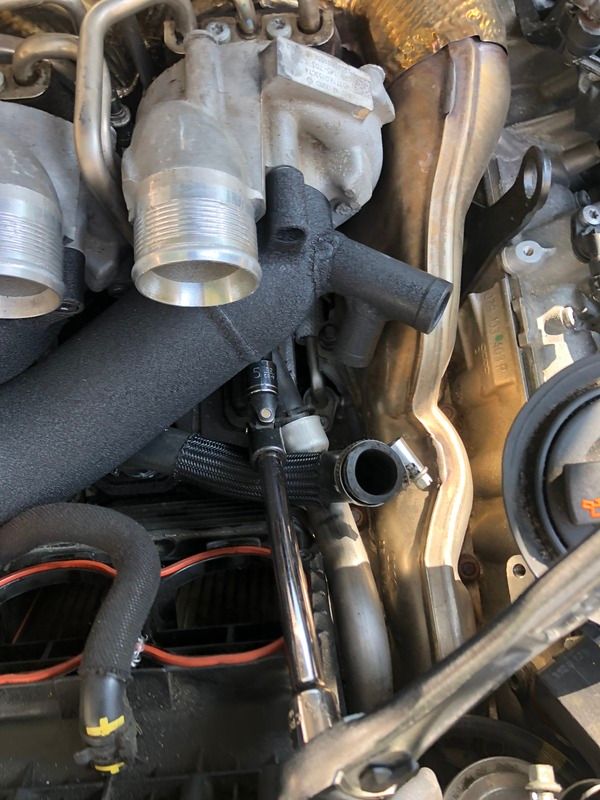
- Now after you curse a lot, and drink your preferred beverage, install the tubing from compressor elbow to the I/C Brick. These are a pain and it helps to have a hook tool with a blunt tip.
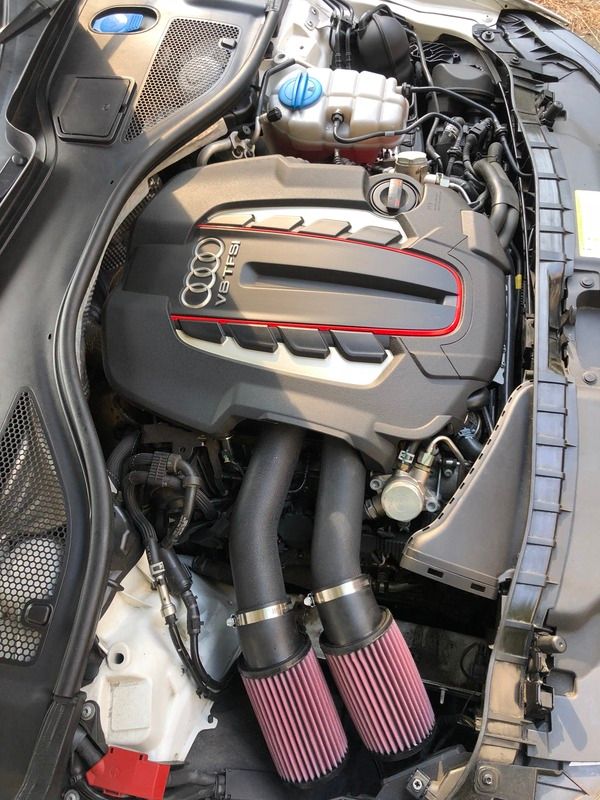
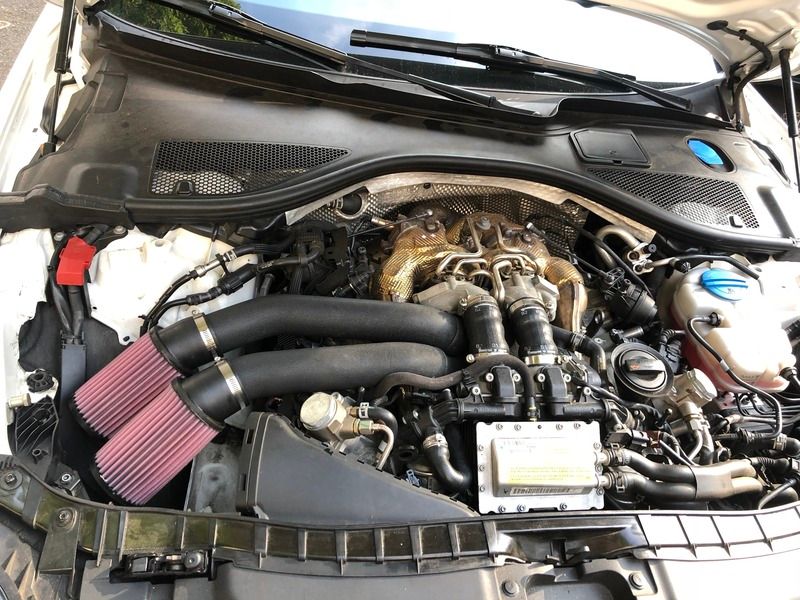
- Once you tighten up the clamps you're ready to install the filters and reconnect all your electrical connections.
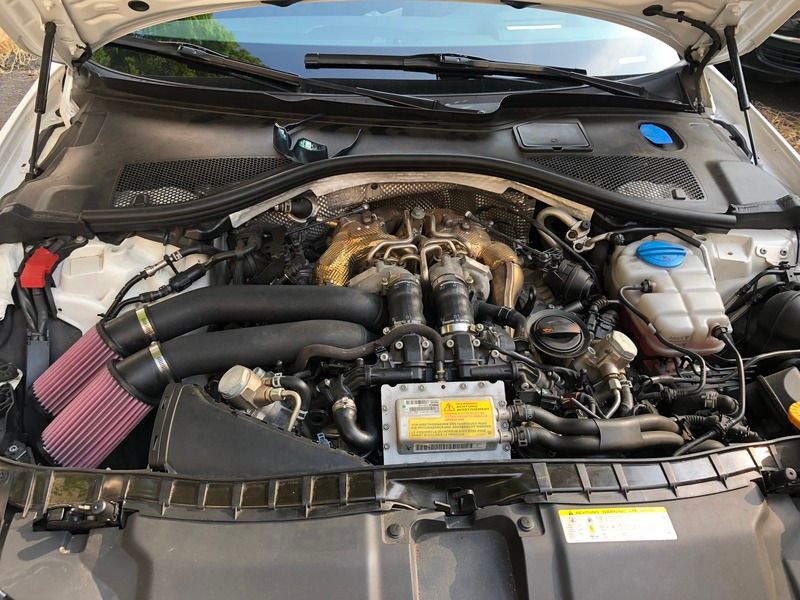
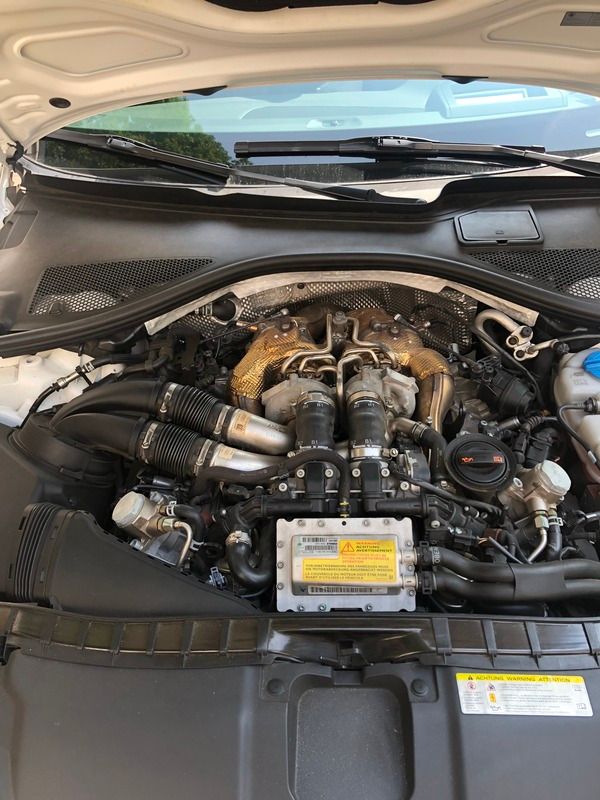
- Now admire your handiwork and pause to appreciate how good it looks without a cover!
- Put the cover on and reward yourself with a drive