Interior
bTres
Product Link: bTres
MMI - SSD Swap
Original by GilliamOS
Upgrading to a Solid State Drive (SSD) in your car's Multimedia Interface (MMI) is not only feasible but also offers a stable and moderately easy solution, despite being somewhat time-consuming.
This guide will briefly cover the DIY process, assuming familiarity with removing the MMI, using CloneZilla (or a similar tool), and not focusing on increasing the drive's capacity. For those interested in expanding capacity, other detailed guides are available, but be warned, it's a challenging endeavor.
If you're not comfortable with disassembling components, cloning drives, or similar tasks, this guide might not suit you. It's advisable to seek assistance for these steps.
The goal here is to replace the original hard disk drive (HDD) with a solid-state drive (SSD). The benefits are significant, including faster performance, reduced heat generation, and increased stability due to the absence of moving parts. Throughout my experiments, one combination of components has proven to match the original drive's stability while being cost-effective.
Recommended Parts:
- Transcend 64GB mSATA Drive (Qualified for 0°C to 78°C)
or
Swissbit 60GB industrial-grade mSATA drive (For wide temperature ranges, qualified for -40°C to 85°C) - mSATA to IDE Adapter
- Vantec IDE/SATA to USB adapter (for cloning the MMI drive)
- mSATA to USB Adapter
Installation Steps:
- Remove the HVAC controller, connectors, 8mm bolt, and the MMI unit from the car.
- Unscrew the three screws labeled "H" on the bottom of the MMI and all screws on the top. Carefully pry the top off.
- Keep track of the screws' locations as they come in three different lengths.
- Lift and set aside the DVD drive, whether connected or not.
- Slide the middle clip between the two ribbon connectors back and under the HDD, then lift the sled out from the connector end.
- Detach the right-angle connector from the drive and set it aside.
For cloning:
- Connect the drives and clone or image the original drive using your preferred tool and method. I recommend CloneZilla for creating a backup image.
- Install the cloned mSATA drive into the adapter, attaching the right-angle connector last.
- Place the adapter and sled back into the MMI and secure with screws.
- Reconnect all connections, including the previously removed bolt.
- Reinstall the HVAC controller.
Upon turning on the car, the MMI should boot up immediately and operate as usual. It's likely that numerous codes will be stored across the car's controllers; use your preferred scanner to clear these codes. This upgrade significantly improves performance and longevity, making it a valuable enhancement for your vehicle.


Auto Hold Retrofit
No need to run wires all the way to the ABS unit from the center console. All 4GX comes with this wiring factory installed. Nevertheless, note that this was done to 1AT PR code ABS module. If you have 1AS ABS module, it may still work, but it may stress your ABS unit slightly more.
Example ABS Control Unit Part Numbers:
SW: 4G0 907 379 G
HW: 4G0 907 379 G
Component: ESP PREMIUM H09 0250
Part Required:
4G927225B (OEM)
Software Required:
VCDS
We recommend an OEM part, even if used. The aftermarket ones that we've found tend to not match the original interior colors and/or LED color.
Procedure
- Use an interior tool to remove the leather interior trim upwards around the shifter.
- Lift MMI console by using two interior tools at the top half and pulling backwards towards you while you lift up.
- There are three tabs on the original switch that need to be released to push it from the bottom towards the top of the panel.
- Insert 4G927225B
- Reconnect connectors
- Reassemble
- Use VCDS
- Select Address 03 (ABS)
- Access authorization -> Enter Access Code 61378 or S11820
- Long Coding Helper -> Byte 8
- Use the call out below to change this byte to the proper value.
- Turn your car off and back on
- Clear DTCs via VCDS or OBD11
DO NOT JUST PASTE THE BELOW ABS CODING TO YOUR ABS CODING.
Calculating Byte 8's Value:
For our example, the original ABS long coding we'll use is:
44A70F0122E5F0804B00
4B near the end is Byte 8 (as they start at 00)
(See below table)
https://www.binaryhexconverter.com/hex-to-binary-converter
| 00 | 01 | 02 | 03 | 04 | 05 | 06 | 07 | 08 | 09 |
| 44 | A7 | 0F | 01 | 22 | E5 | F0 | 80 | 4B | 00 |
The 8th byte in this case, 4B is binary for 01001011
By changing the first four digits to 10011011
The converted binary 10011011 to HEX is 9B
So, our new long coding would be:
44A70F0122E5F0809B00
(See below table)
https://www.binaryhexconverter.com/hex-to-binary-converter
| 00 | 01 | 02 | 03 | 04 | 05 | 06 | 07 | 08 | 09 |
| 44 | A7 | 0F | 01 | 22 | E5 | F0 | 80 | 9B | 00 |
DO NOT JUST PASTE THE ABOVE ABS CODING TO YOUR ABS CODING.
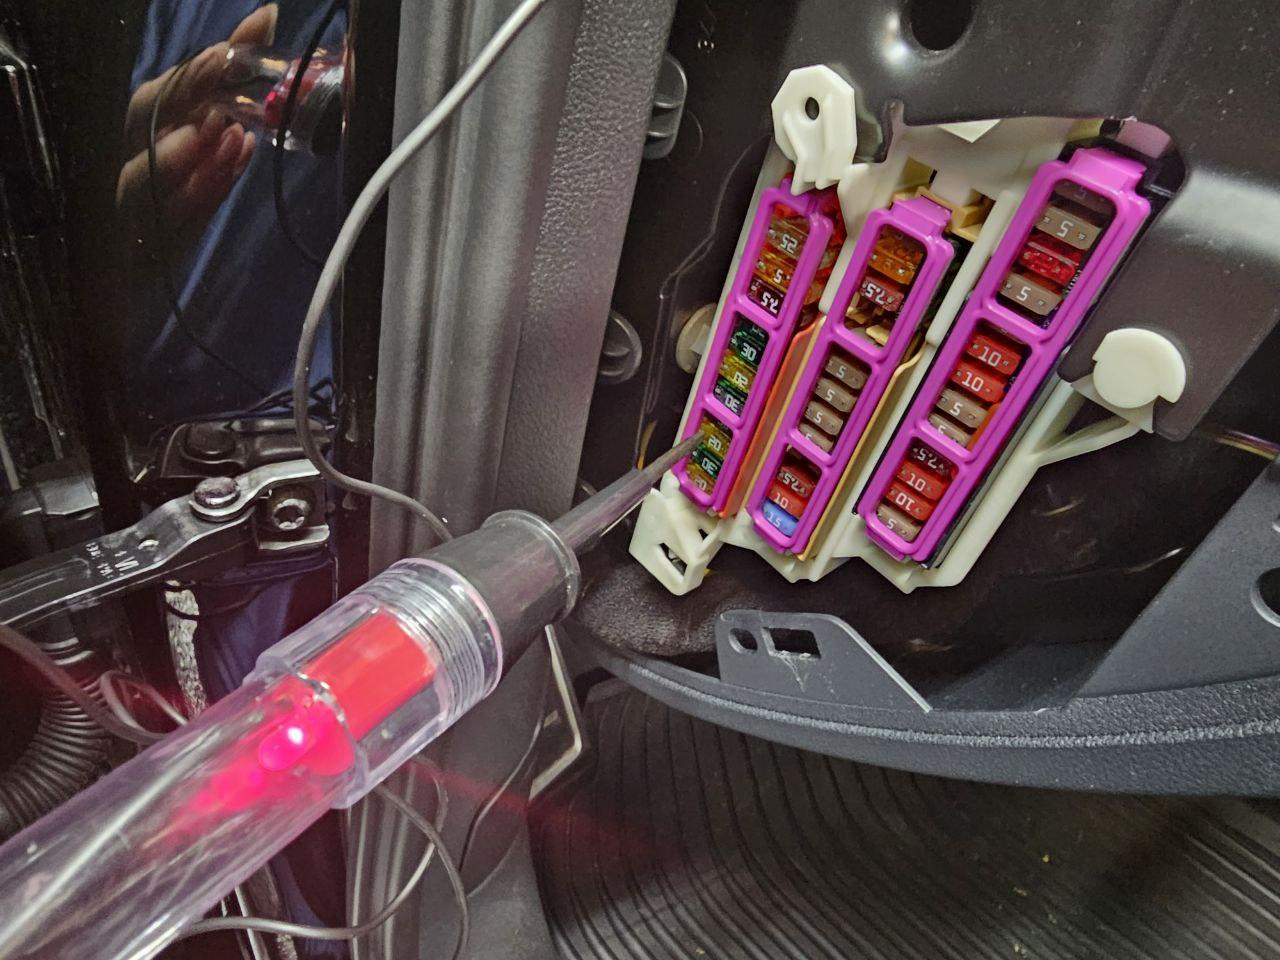
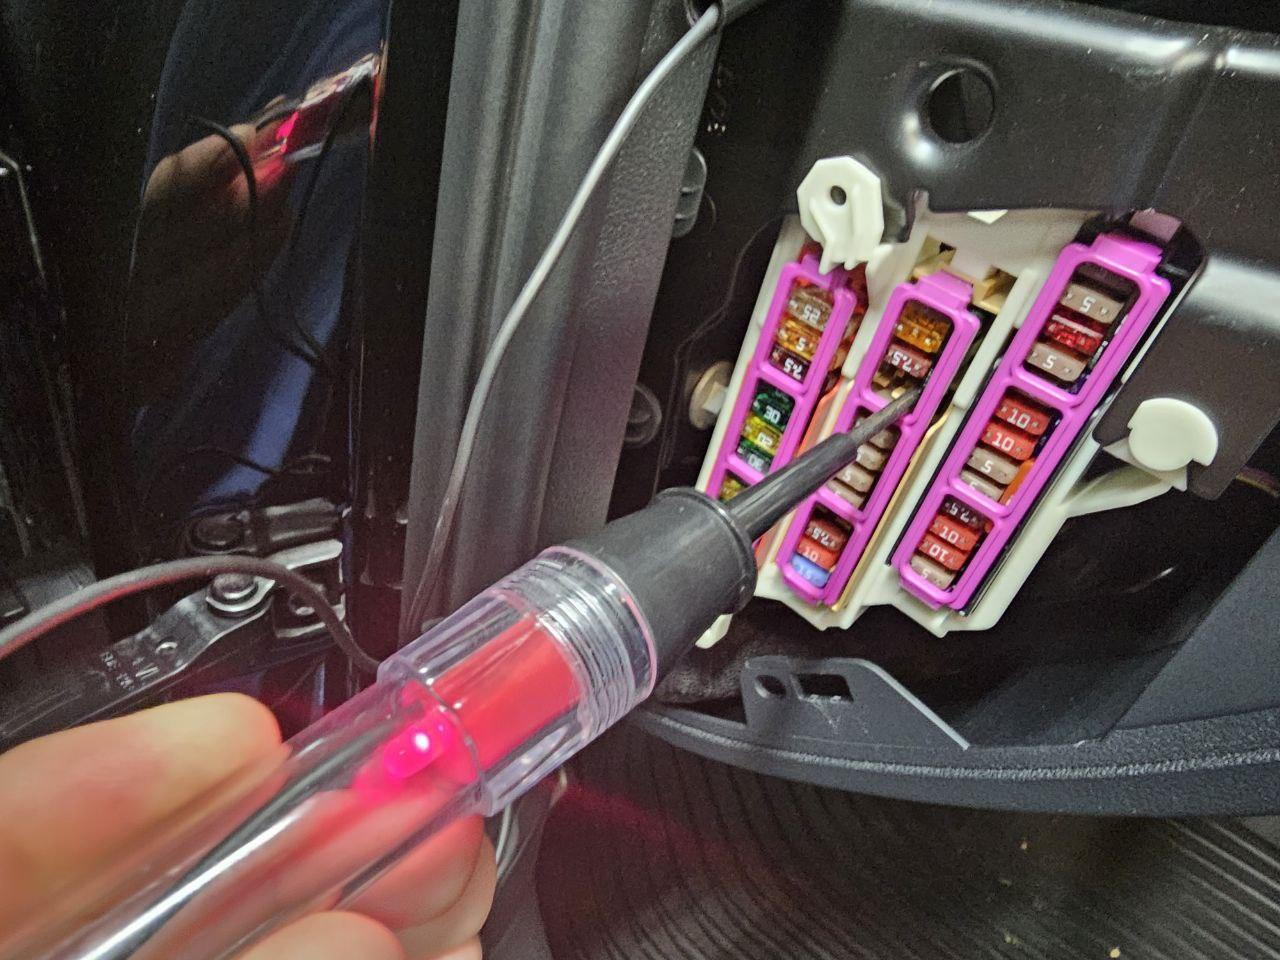
Switched / Unswitched Fuse Location
If you're looking for a location to use a switched fuse on the S6/S7, look below:
Switched Location:
Panel B, ST1
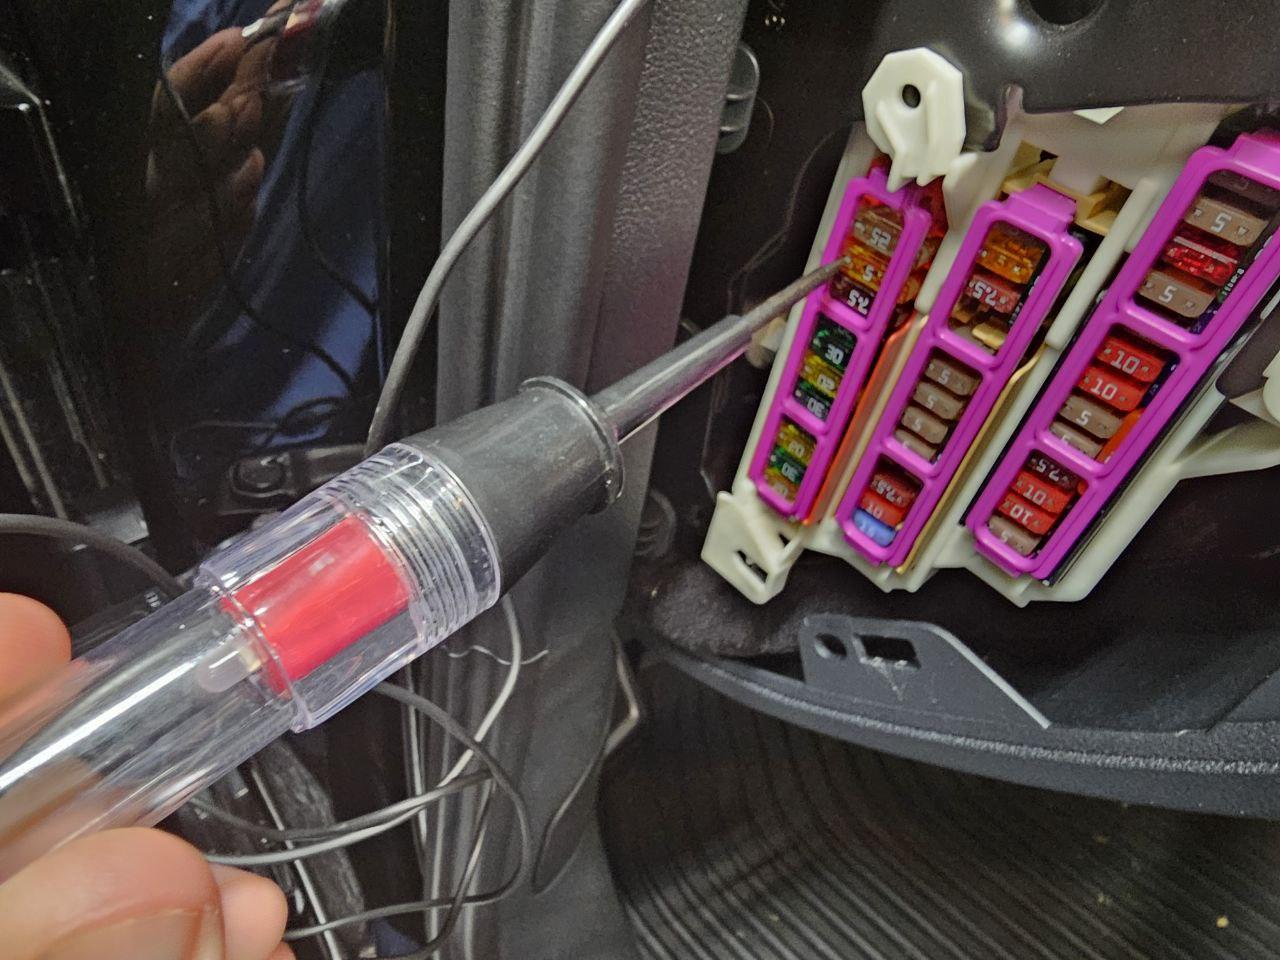
Or top portion of Panel B, ST3

This entire row is switched.
Unswitched Location: